
Gigas Broodstock DNA Extraction Part 2
Testing the extraction protocol
Now that I had both xylene and a thermomixer, I could test the PAXgene Tissue DNA Kit.
Step 0: Prepare for extractions
- Add ethanol to Buffer TD3 and TD4. The ethanol amount is specified on the container
- Preheat the thermomixer to 56ºC
- Label tubes for extractions
- Clean scalpel in 10% bleach solution
- Stuck the spin columns in the 4ºC fridge. They were supposed to be stored in the fridge upon arrival, but that didn’t happen :/
Step 1: Cut a tissue sample from the parrafin block
- Tared a scale with a piece of weigh paper
- Used a scooping thing to cut and scoop out parrafin-embedded tissue
- Set the tissue on the weigh paper until I had 0.02 g of tissue
- The weigh paper kept oscillating between 0.00, 0.01, and 0.02! I carved out more tissue than I did the first time so I’m confident I have enough tissue. I need to find a more sensitive scale to use so my breathing doesn’t affect the scale.
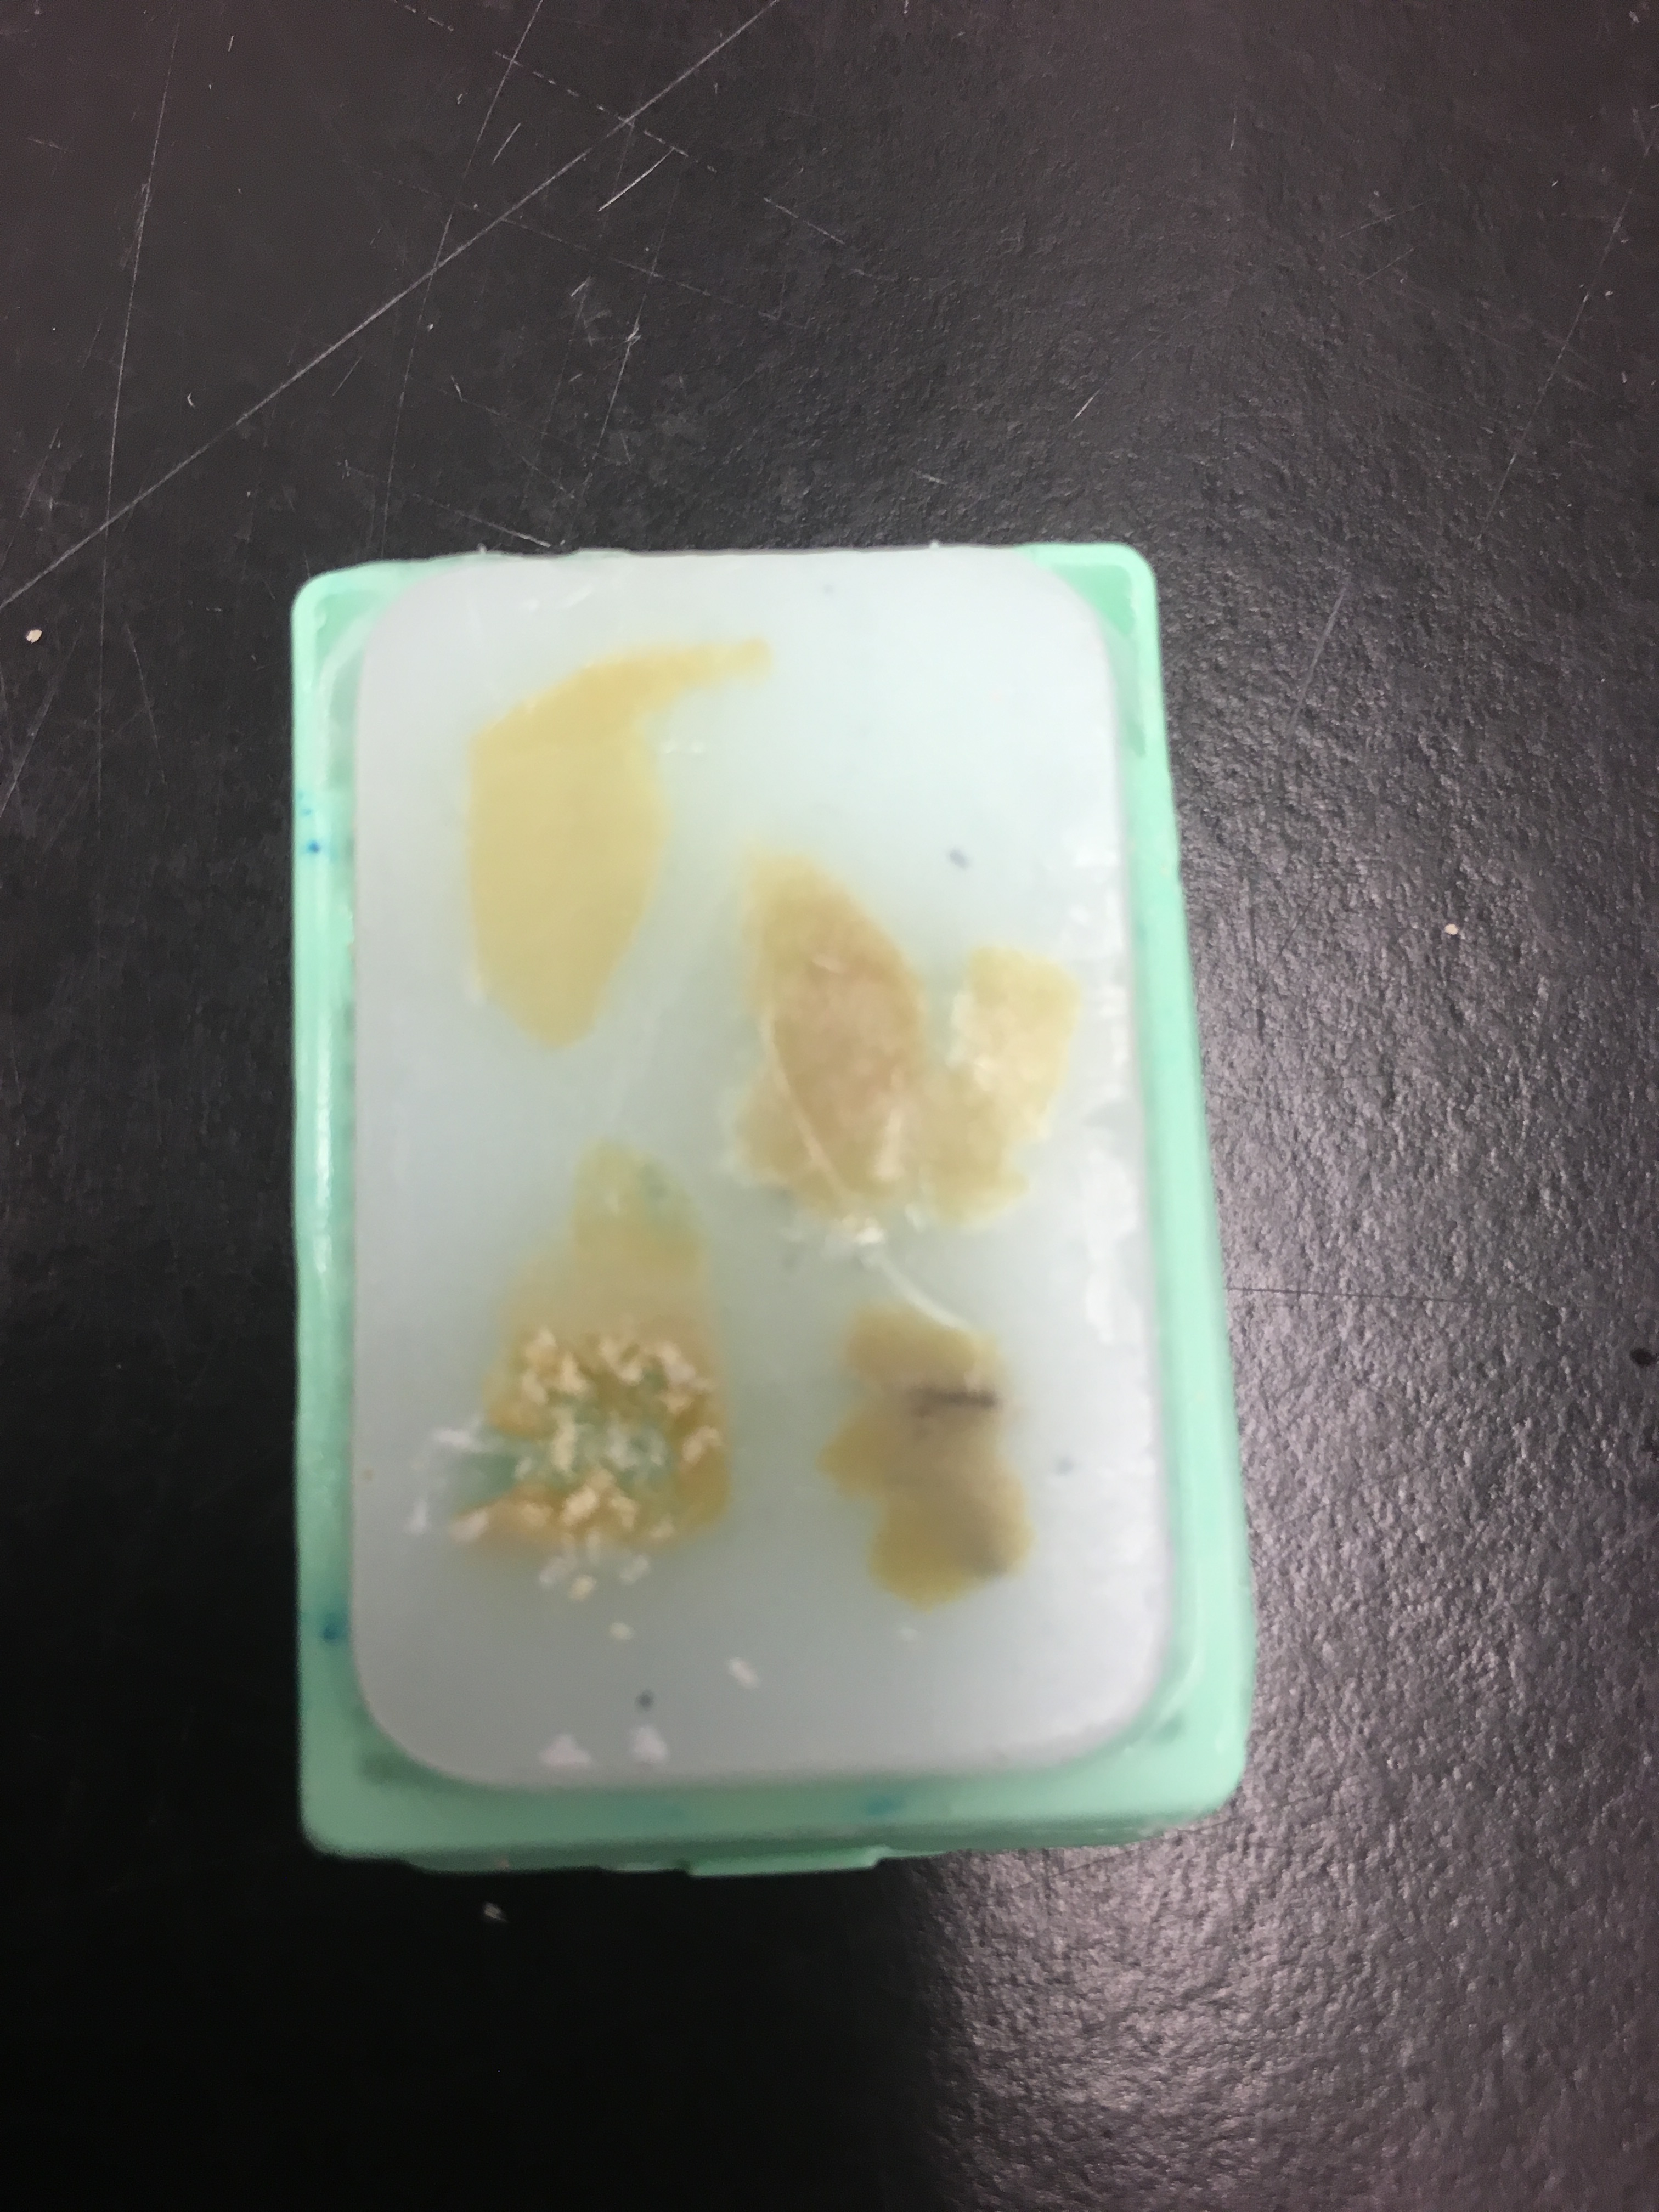
Figure 1. Histology block before I scooped out the sample
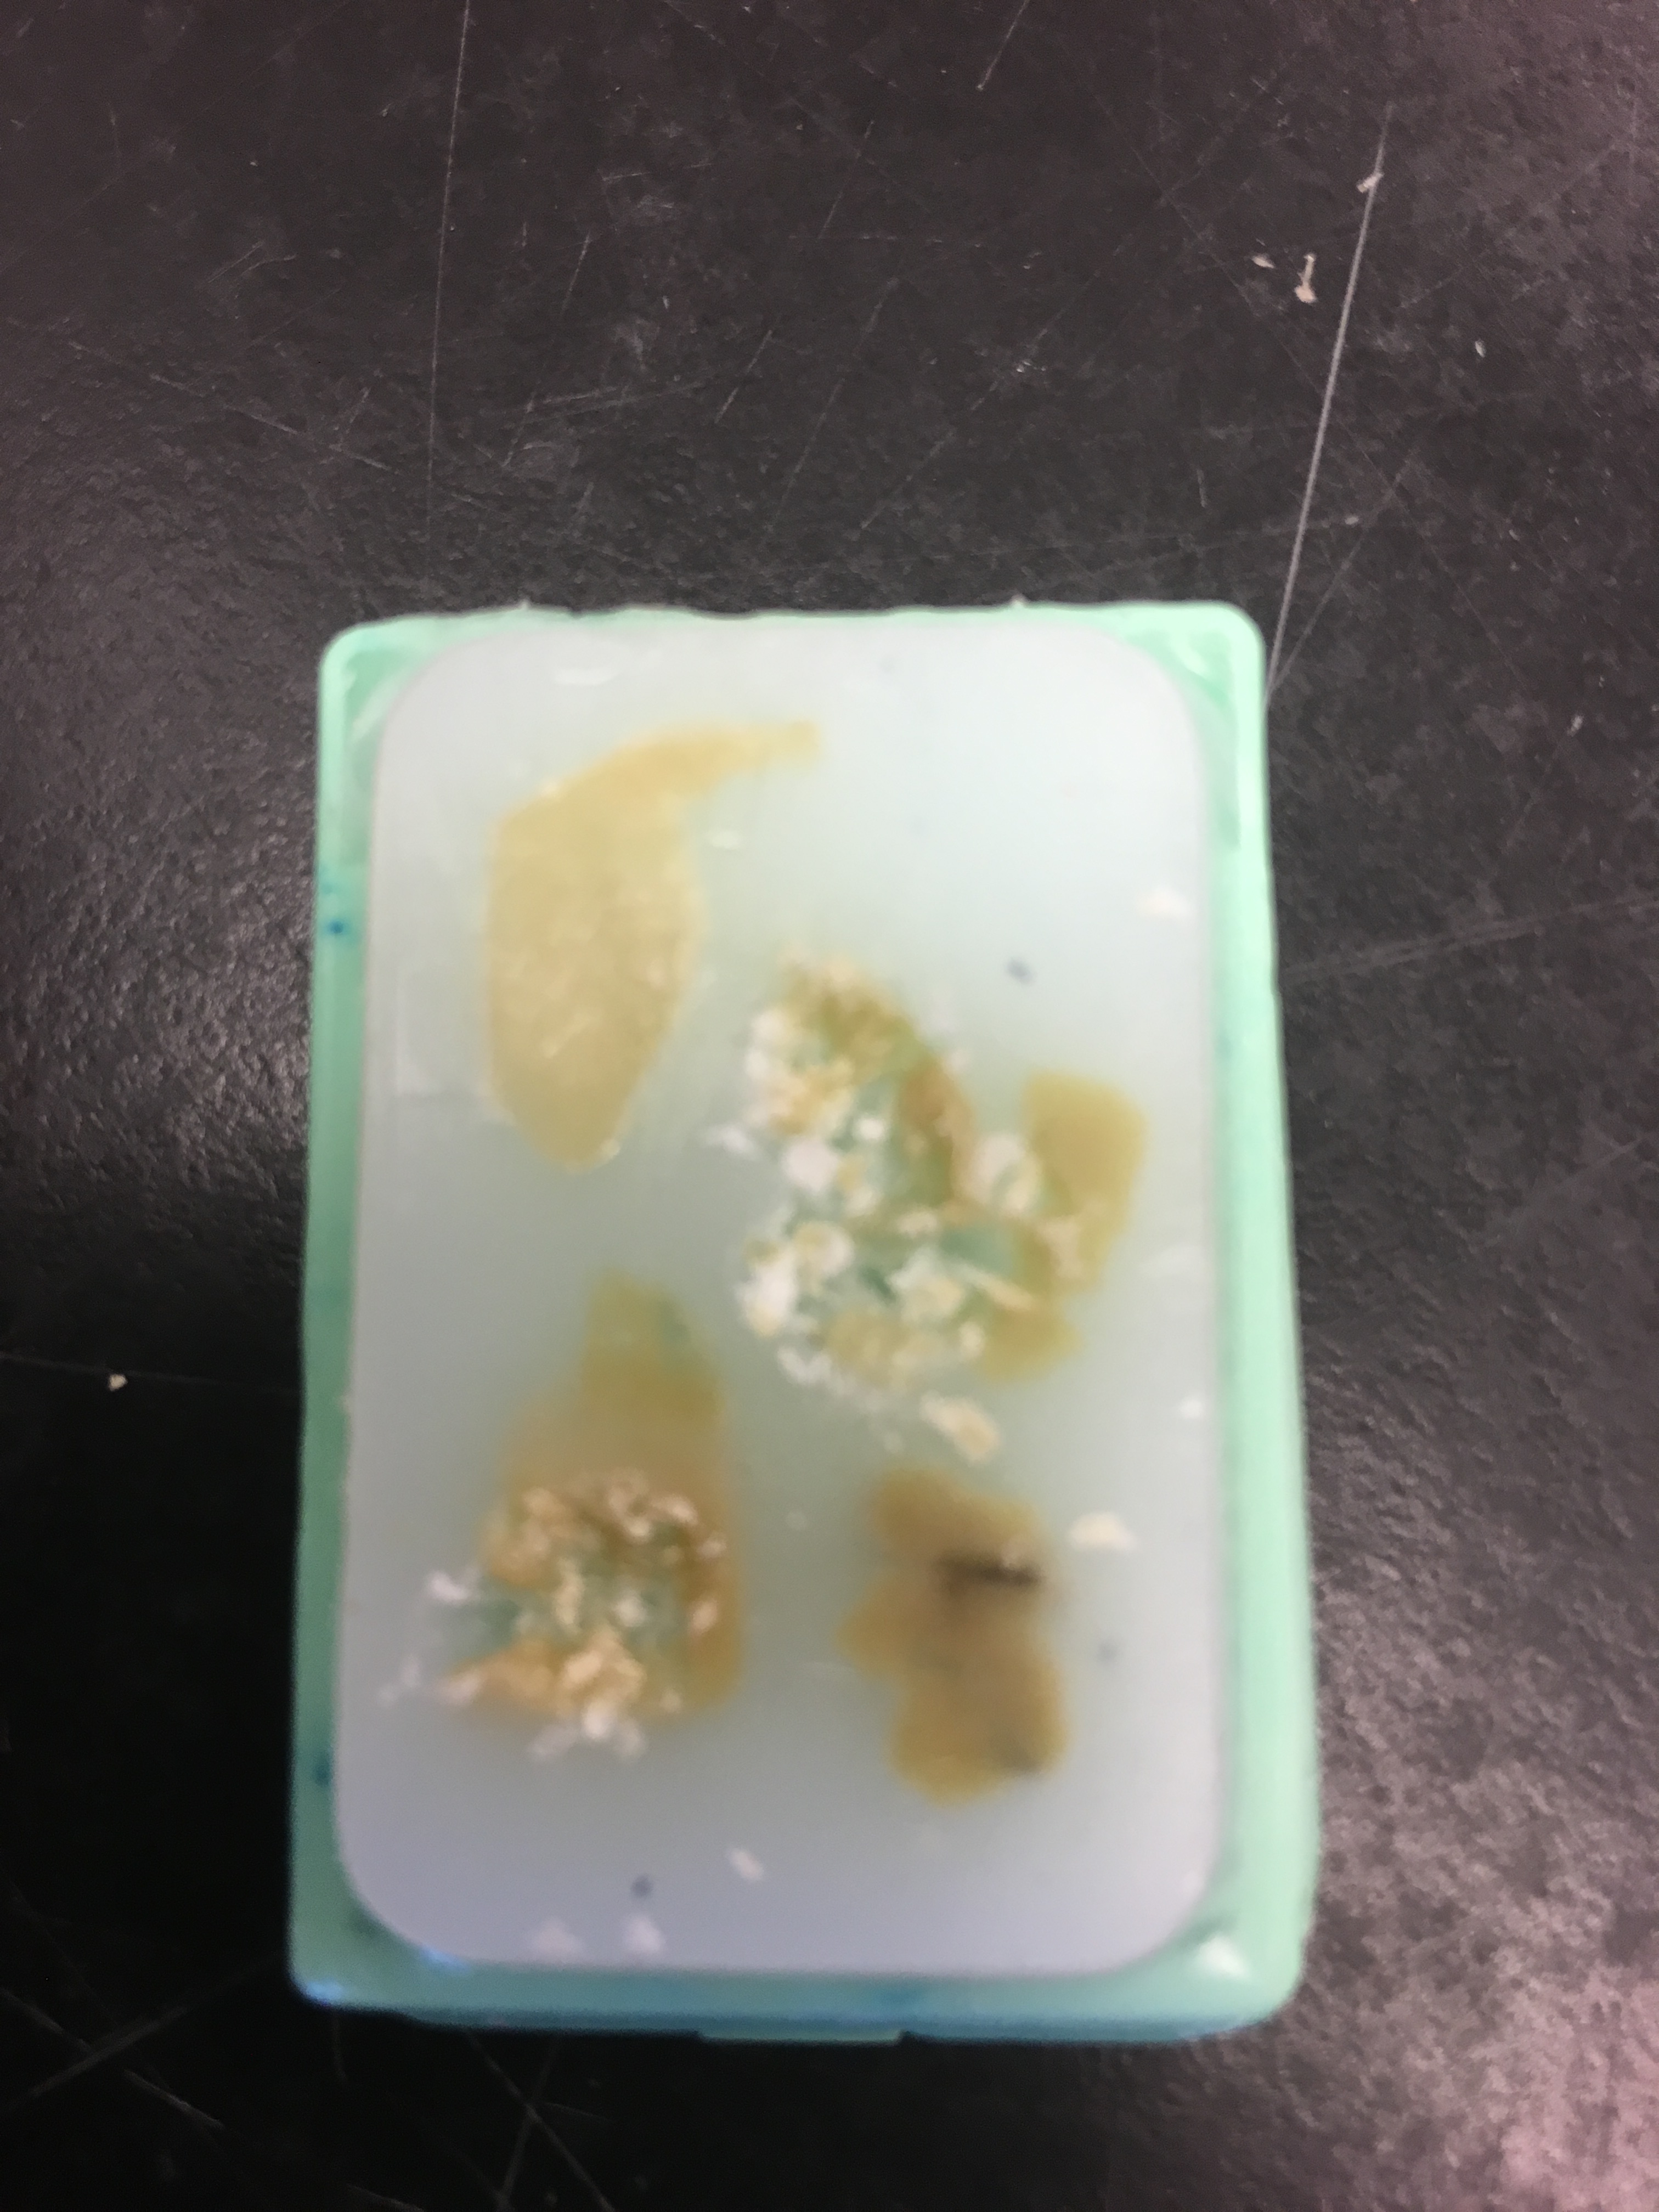
Figure 2. Histology block after I scooped out the sample
Step 2: Cut the block into smaller pieces and place them into a 2 mL round-bottomed processing tube
- The block was already cut into smaller pieces, so I carefully folded the weigh paper and scooped the tissue into a 2 mL screwtop tube
Step 3: Add 1 mL xylene to the sample. Vortex vigorously for 20 s, and incubate for 3 min on the benchtop
Step 4: Centrifuge at maximum speed for 3 minutes (but do not exceed 20,000 x g)
- Maximum speed on the centrifuge was 13,000 RPM x g
Step 5: Remove the supernatant by pipetting. Do not remove any of the pellet
Step 6: Add 1 mL of ethanol (96%-100%, purity grade p.a.) to the pellet, and mix by vortexing for 20 s.
Step 7-8: Repeat Steps 4-5
Step 9: Open the tube and incubate at room temperature for 10 minutes, or until all residual alcohol has evaporated
- I incubated the samples for 25 minutes. I could incubate the samples at 37ºC for a shorter incubation time
Step 10: Resuspend the pellet in 180 µL Buffer TD1.
Step 11: Add one stainless steel bead to each 2 mL processing tube, and place the tubes in the TissueLyser Adapter Set 2 x 24.
- Instead, I added about 50 µL of glass beads (1 small spatula full) into the 2 mL sample tube
Step 12: Operate the TissueLyser for 20 s at 15 Hz
- Instead, I vortexed the sample and glass beads at maximum speed for 20 s
Step 13: Carefully pipet lysates into new 1.5 mL microcentrifuge-safelock tubes
Step 14: Add 20 µL proteinkinase K, and mix by pulse-vortexing for 15s
Step 15: Incubate for 1 hour at 56ºC using a shaker-incubater at 1400 rpm.
- I used the Genome Sciences thermomixer, set to 56ºC and 1400 rpm, for one hour.
- After the incubation ended, I increased the temperature to 80ºC to prepare for Step 18
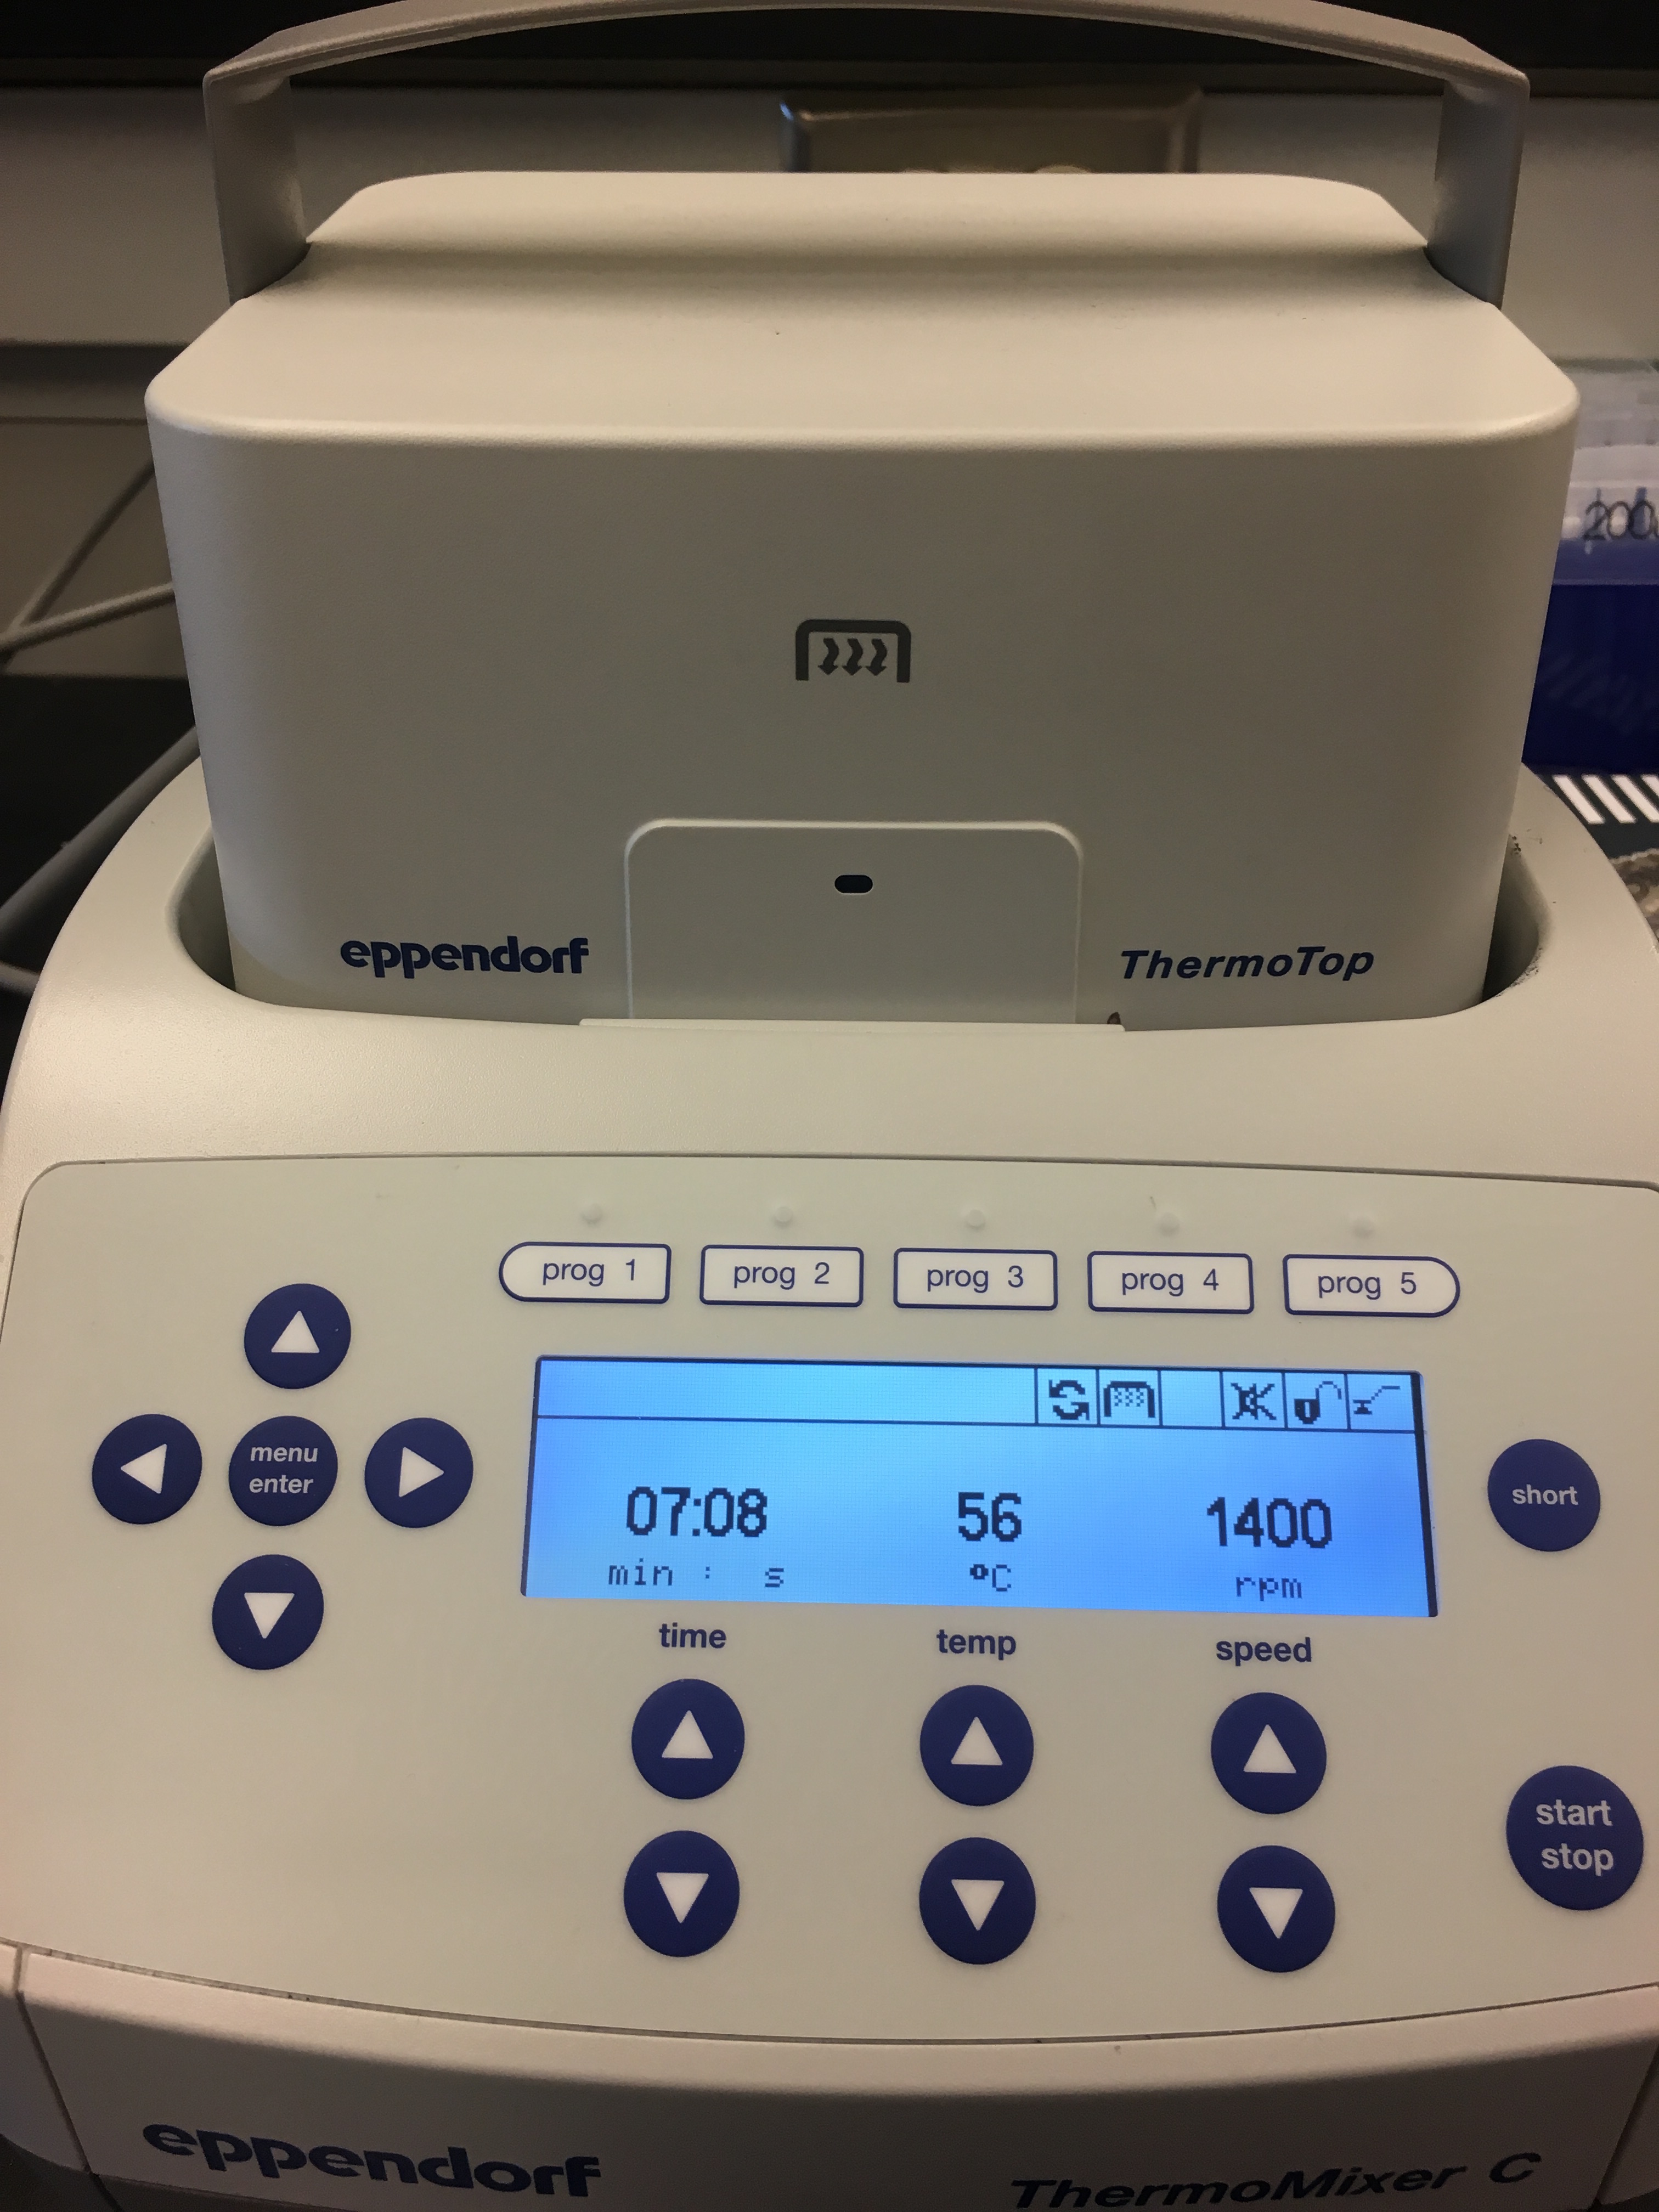
Figure 3. Thermomixer borrowed from Genome Sciences.
Step 16: Briefly centrifuge the microcentrifuge-safelock tube to remove drops from the inside of the lid
- I centrifuged the tube for 0.5 minutes at 13,000 RPM x g
Step 17: Add 4 µL RNase A (100 mg/mL), mix by vortexing, and incubate for 2 min at room temperature
- This is an optional step to obtain RNA-free genomic DNA. Sam said it wouldn’t hurt anything if I did it!
- I added RNase A (found in the chemical cabinet) to my sample
- Vortexed for 20 s at maximum speed
- Incubated at room temperature for 2 minutes
- Incubated at room temperature an extra 5 minutes while I was waiting for the thermomixer to reach 80ºC
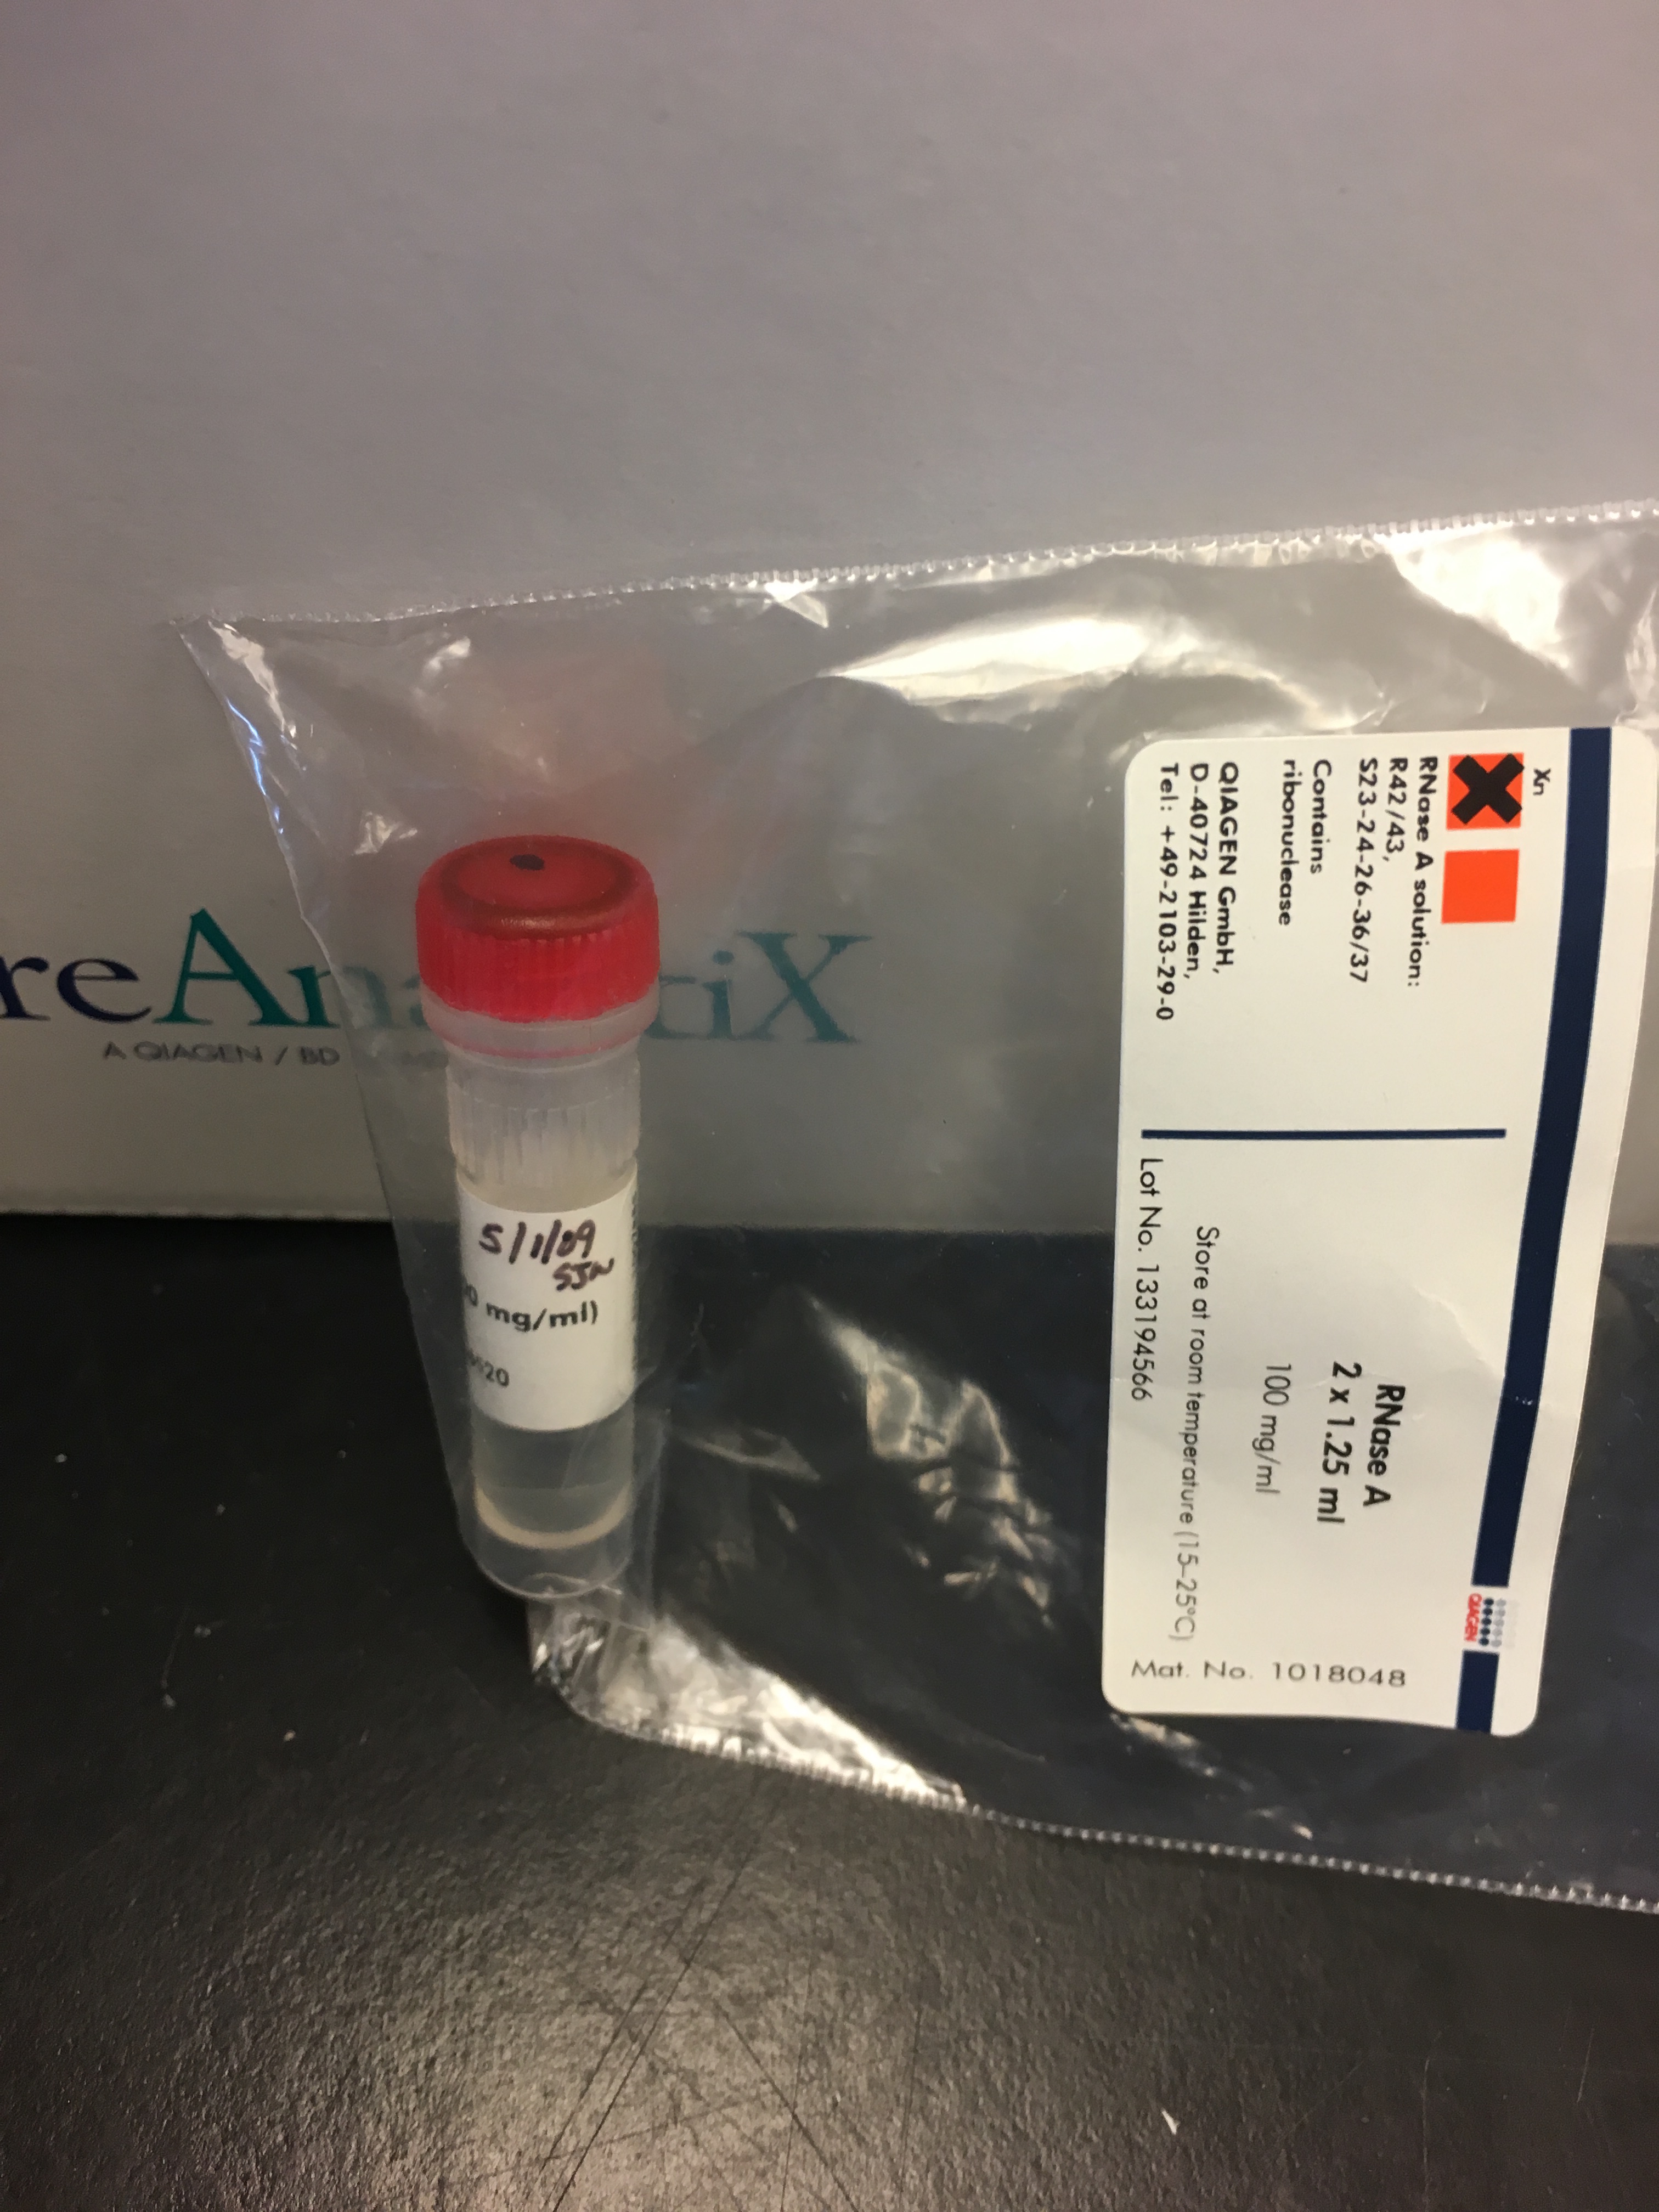
Figure 4. RNase A used for the protocol.
Step 18: Incubate for 60 min at 80ºC at 1400 rpm
Step 19: Repeat Step 16
Step 20: Add 200 µL Buffer TD2, and mix by pulse-vortexing for 15 s
Step 21: Add 200 µL ethanol (96-100%) to the sample, and mix thoroughly by vortexing
Step 22: Repeat Step 16
- Some white precipitate formed and was present on the bottom of the tube
Step 23: Pipet the sample, including any precipitate that may have formed, into the PAXgene DNA spin column placed in a 2 mL processing tube, and centrifuge for 1 min at 6000 x g. Plae the spin column in a new 2 mL procesing tube, and discard the old processing tube containing flow-through.
Step 24: Pipet 500 µL Buffer TD3 into the PAXgene DNA spin column, and centrifuge for 1 min at 6,000 x g. Place the spin column in a new 2 mL processing tube, and discard the old processing tube containing flow-through.
Step 25: Pipet 500 µL Buffer TD4 into the PAXgene DNA spin column, and centrifuge for 1 min at 6,000 x g. Place the spin column in a new 2 mL processing tube, and discard the old processing tube containing flow-through.
Step 26: Centrifuge for 3 min at maximum speed (but do not exceed 20,000 x g) to dry the membrane completely.
Step 27: Discard the processing tube containing flow-through. Place PAXgene DNA spin column in a 1.5 mL microcentrifuge tube, and pipet 50-200 µL Buffer TD5 directly onto the PAXgene DNA spin column membrane. Centrifuge for 1 min at maximum speed (but do not exceed 20,000 x g) to elute the DNA.
- I talked to Sam, and he suggested I add only 50 µL of Buffer TD5. While adding the maximum amount of elution buffer would increase my yield, adding 50 µL should still give me a 90% DNA yield with a higher concentration
- Incubating the PAXgene DNA spin column loaded with Buffer TD5 for 5 min at room temperature before centrifugation generally increases DNA yield (so that’s what I did)
Step 28: Assess DNA yield with the Qubit
- Obtain dsDNA BR standards from fridge
- Prepare the master solution, using a 1:200 ratio of dsDNA BR buffer to dye. The master solution is used for the two standards and the samples
- Each sample needs 200 µL of master solution. Since I only had three tubes (2 standards, 1 sample), I needed 600 µL of solution
- I prepared 660 µL of solution, using 656.7 µL buffer and 3.3 µL dye. 660 µL solution * 0.5 / 100 = 3.3 µL dye
- Pipet 200 µL master solution into each Qubit assay tube
- Add 10 µL of the correct standard to the standard assay tube
- Add 5 µL of sample to the sample tube
- Vortex the tubes for 2-3 seconds
- Incubate tubes at room temperature for 2 minutes
- Use Quibit to quantify yield
- It’s pretty easy to follow the instructions on the machine! You select your assay (dsDNA BR), read standards, then load in the samples
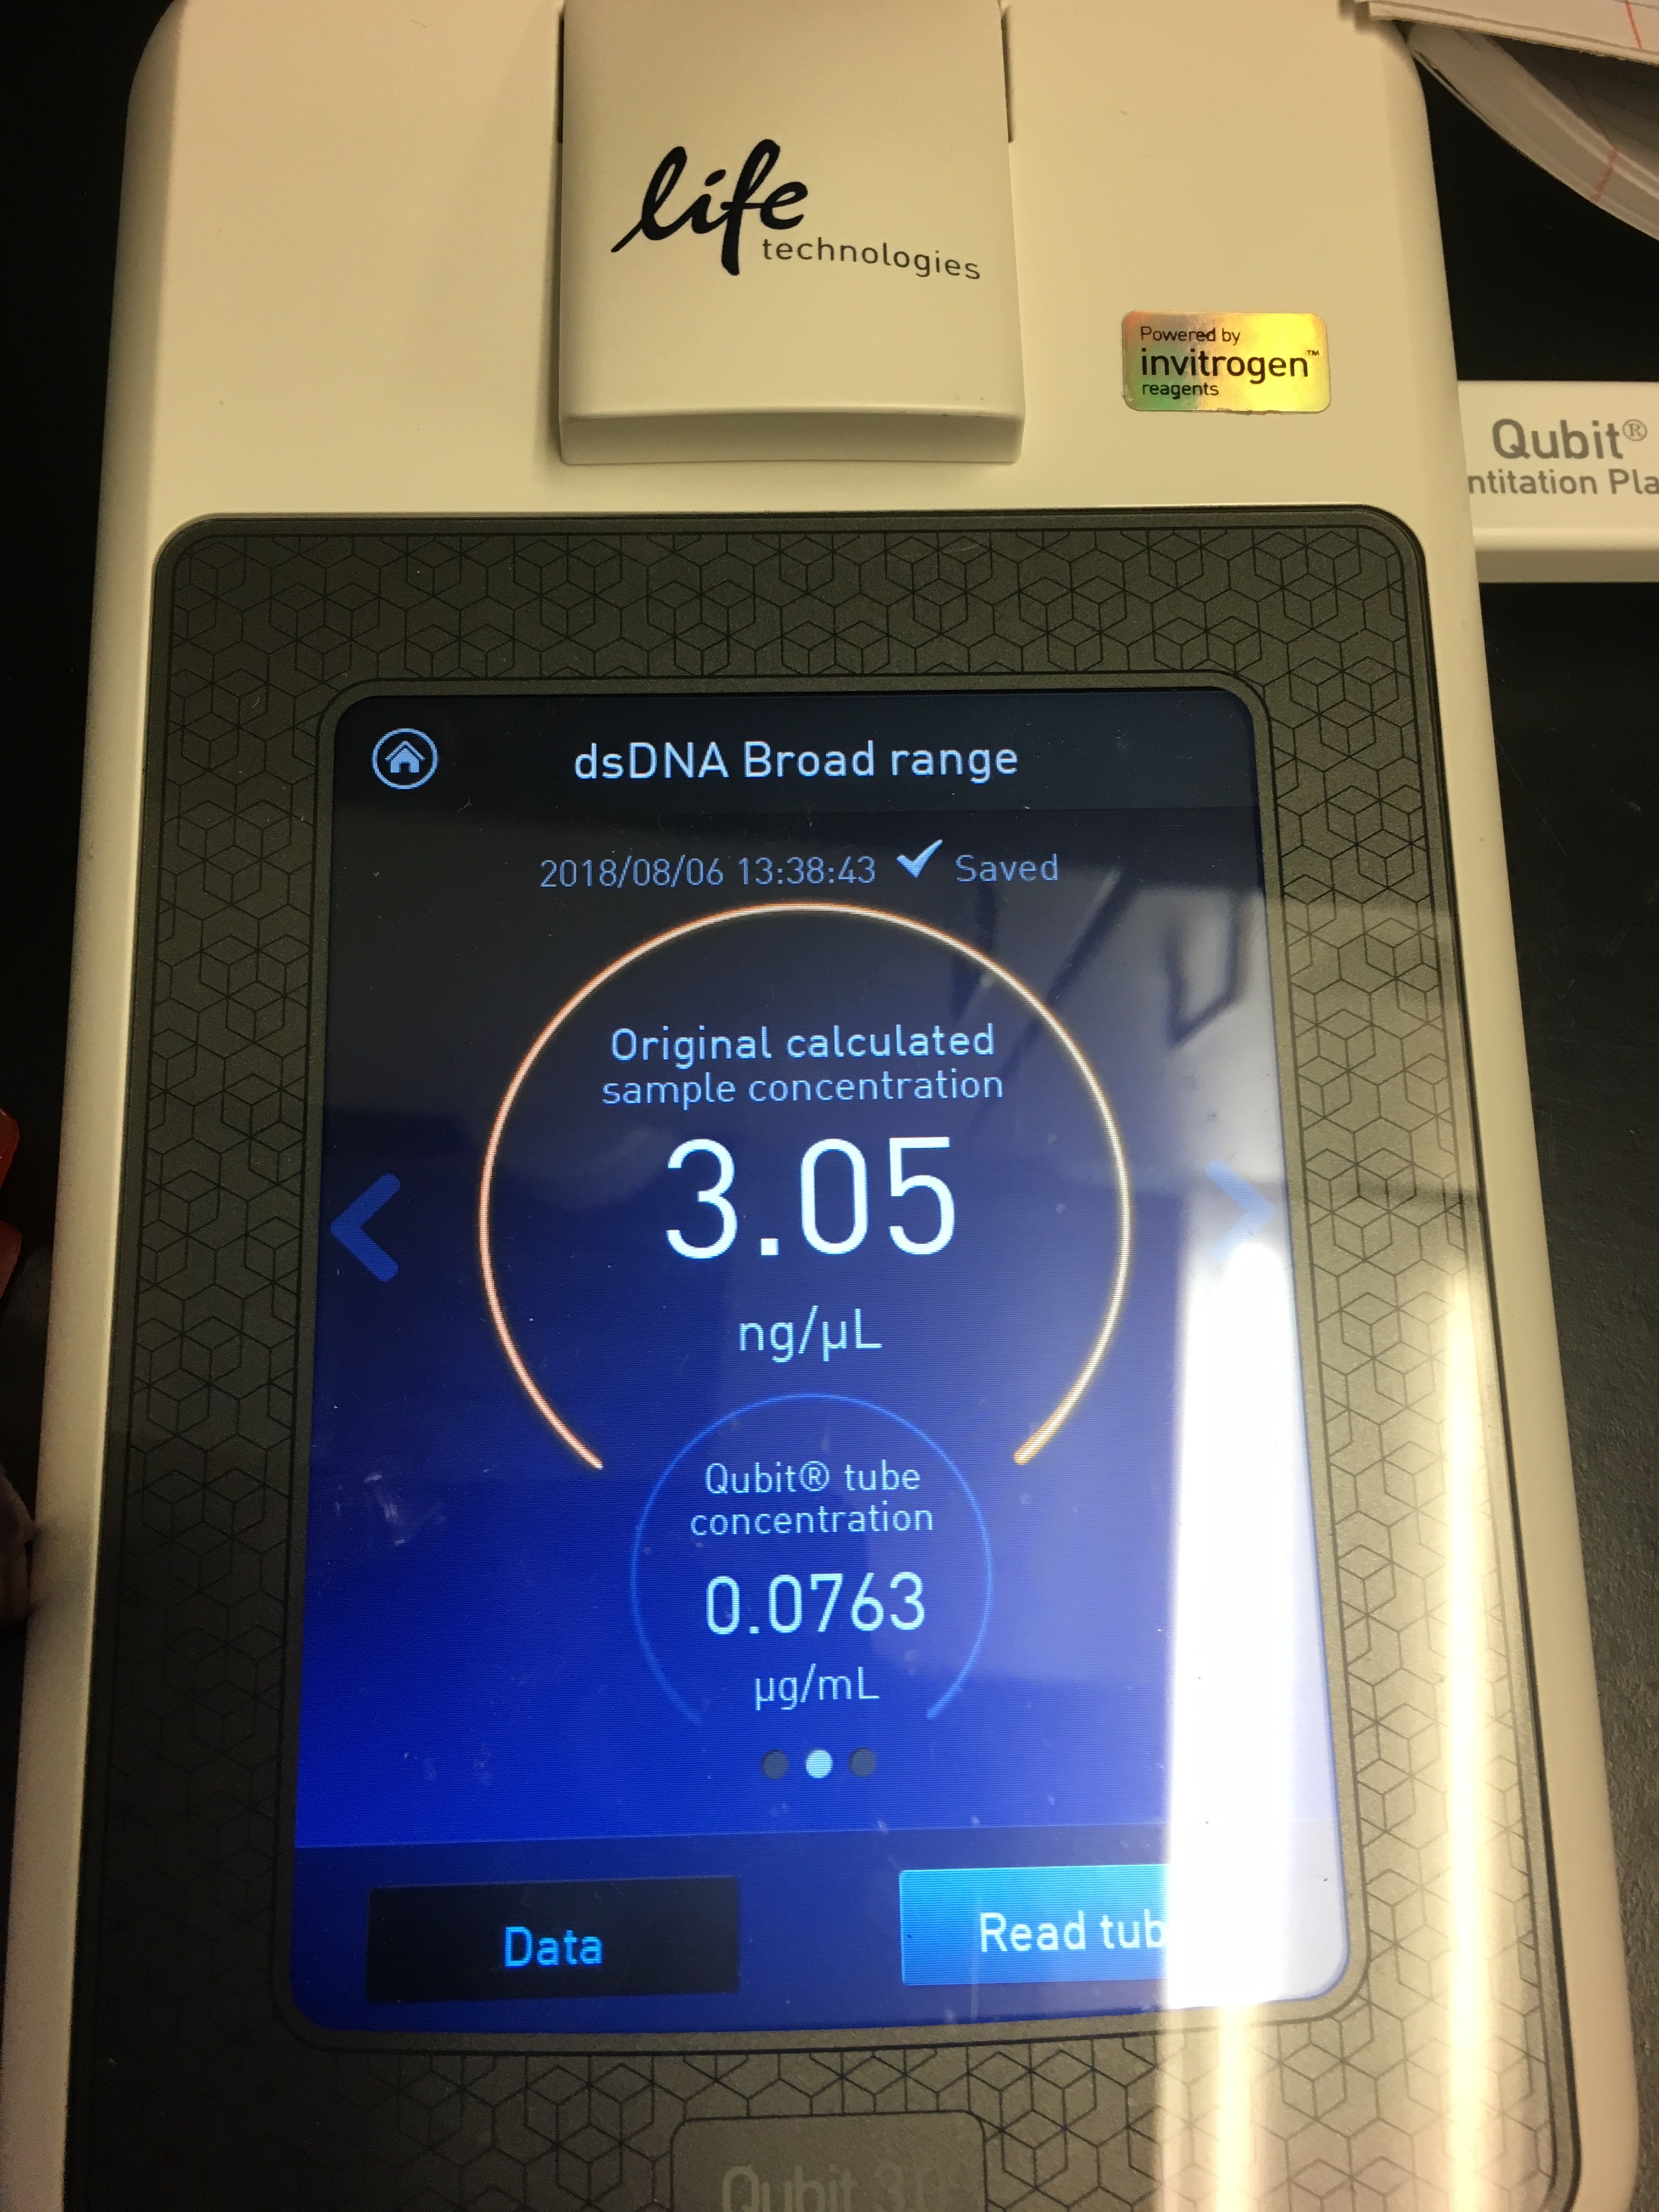
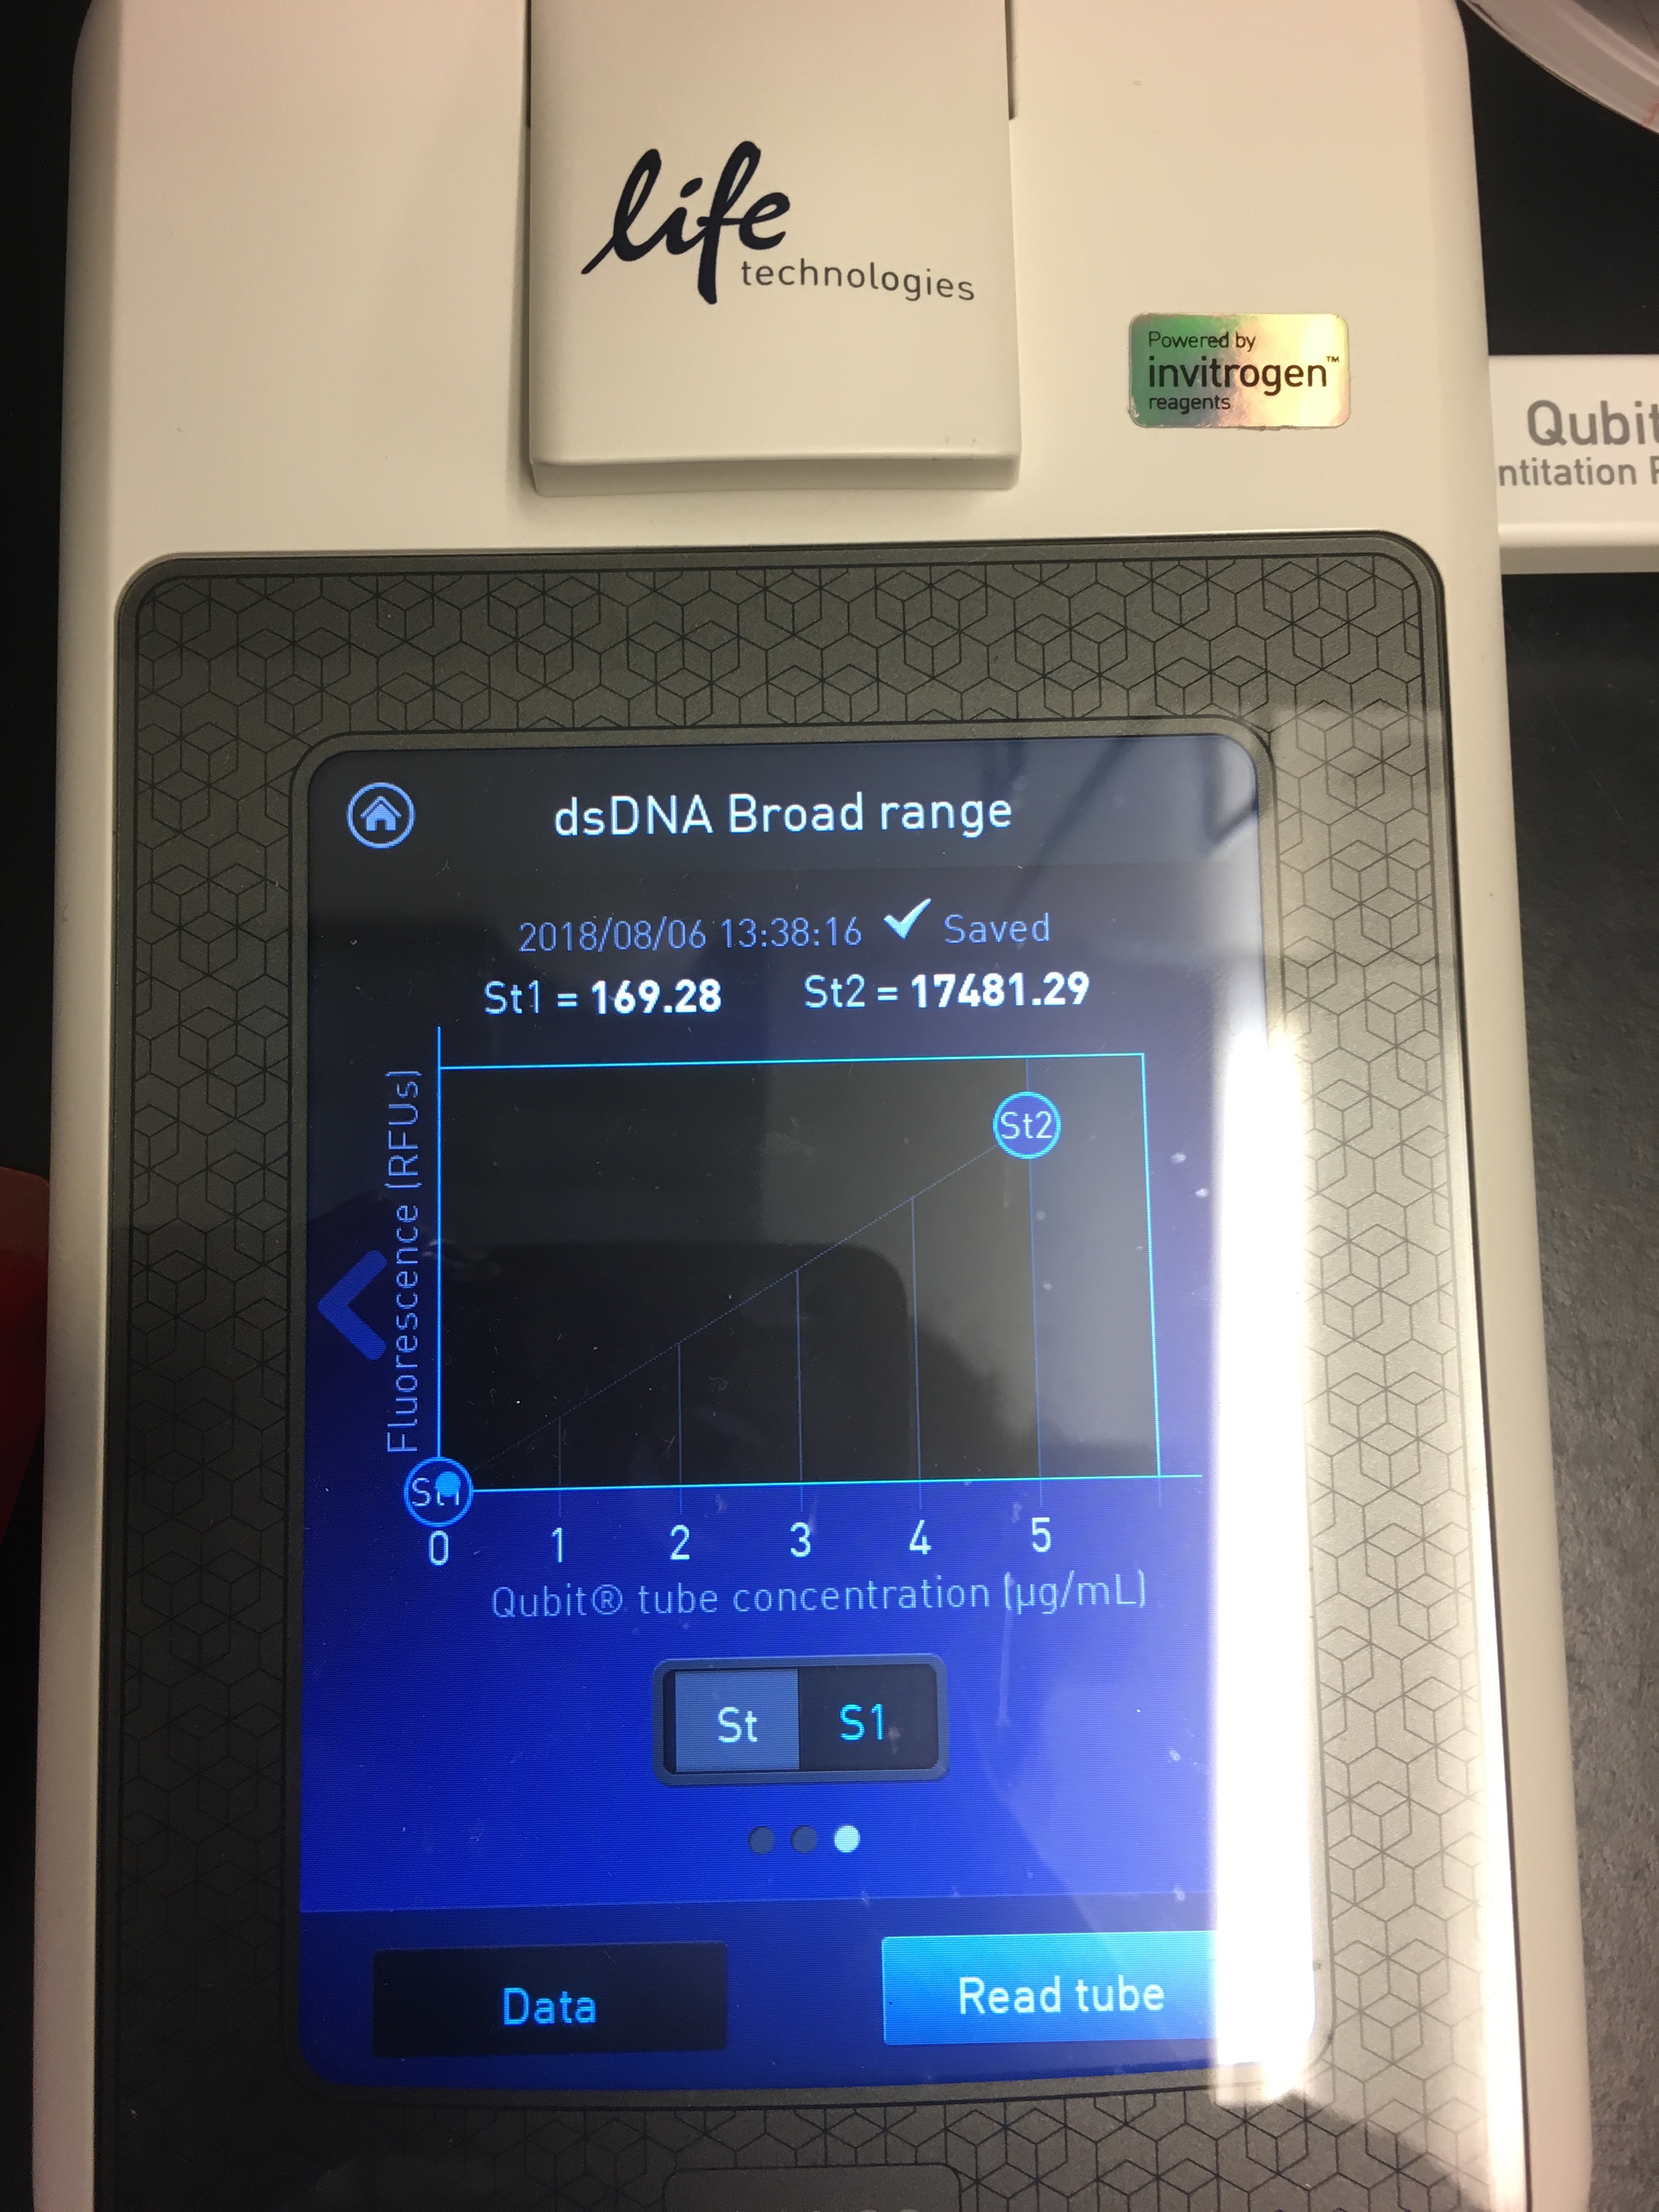
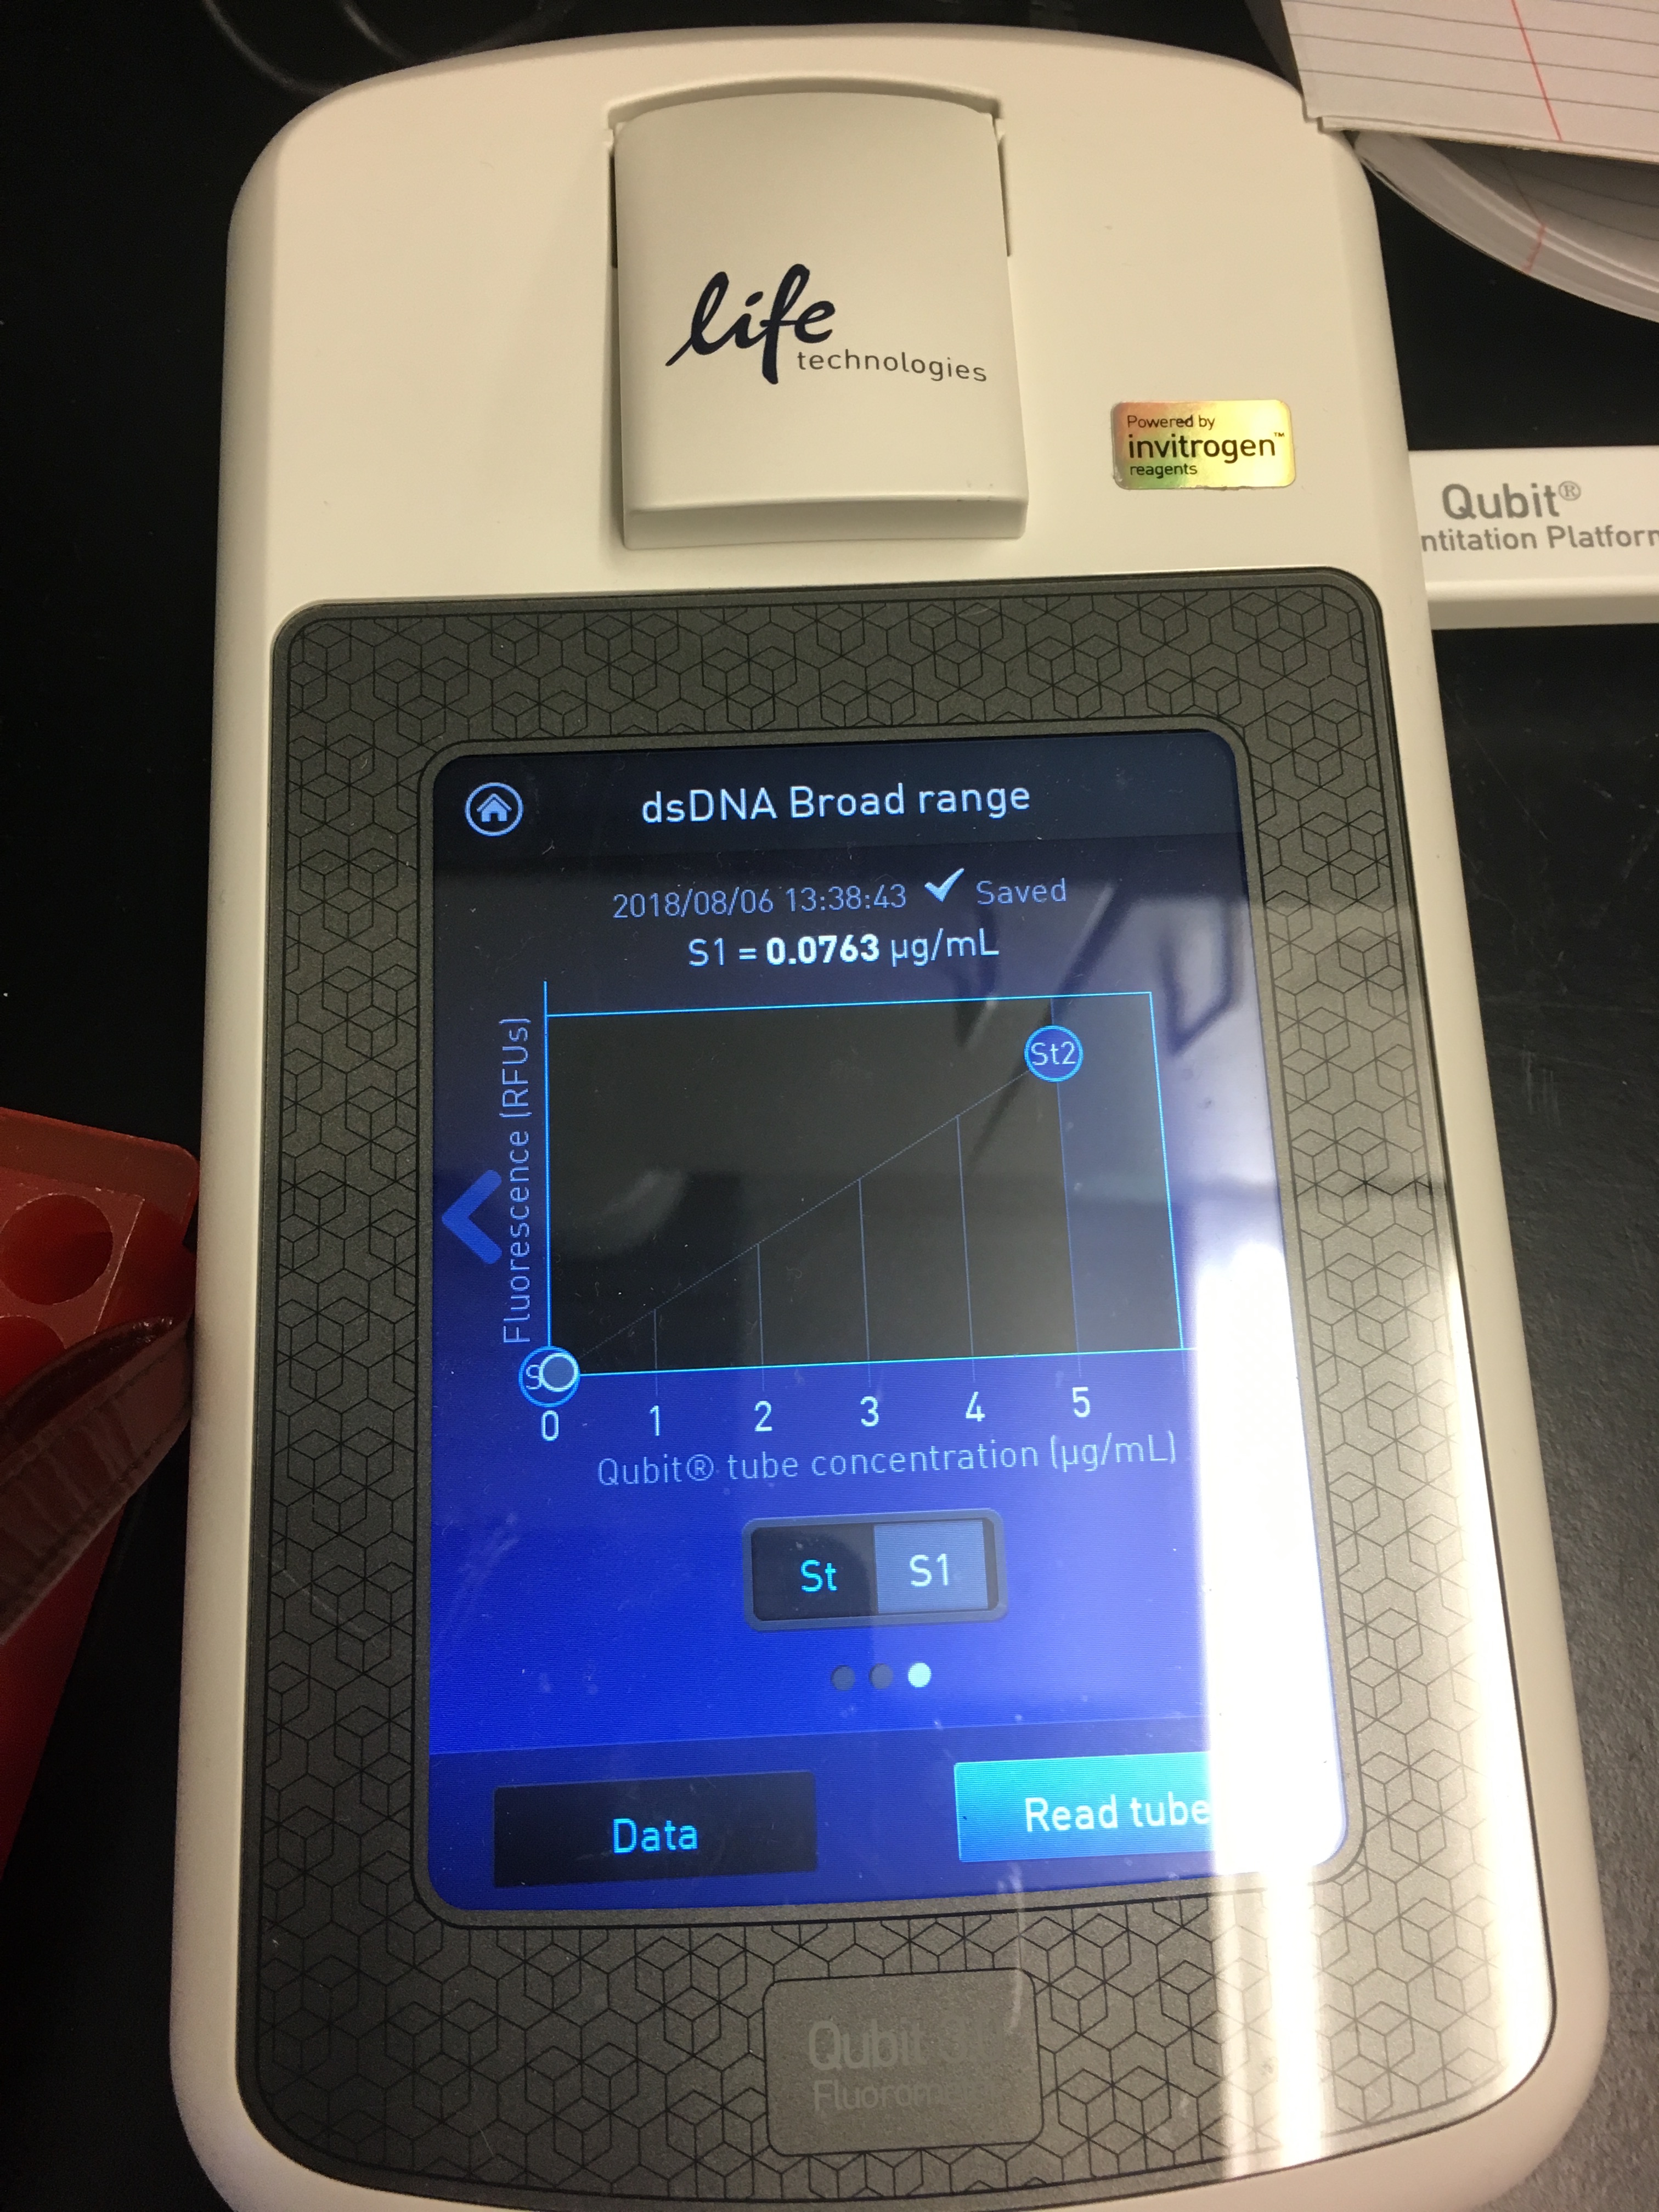
Figures 5-7. Qubit results.
Results
I had a relatively low DNA yield of 3.05 ng/µL :( But at least I know the protocol works?
Going forward
- While writing this lab notebook post, I realized I tossed the spin columns in the freezer instead of the fridge. So I ran upstairs, moved the spin columns to the fridge, and ran back down. Hopefully I didn’t ruin the spin columns.
- I’m going to try this protocol again tomorrow with one more sample. I think I really need a better scale to properly measure the 0.02 g from each tissue
- The protocol also has some suggestions:
- Insufficient mixing of sample with Buffer TD2 and ethanol before binding: Mix sample first with Buffer TD2 and then with ethanol by pulse vortexing for 15 s each time before applying the sample to the PAXgene DNA spin column (Steps 20 and 21)
- Insufficient lysis: Cut tissue into smaller piees to facilitate lysis (they were already pretty small…so I guess I’ll try again!). After lysis, vortex sample vigorously; this will not damage or reduce the size of the DNA. If a substantial gelatinous pellet remains after incubation and vortexing (not my case), extend incubation time at 56ºC for proteinase K digestion.
Hopefully tomorrow’s yields are higher!
Written on August 6, 2018